Abbreviated Notes
- 1.2kg home grown koji (from 1kg dry rice, gem red spores / WF organic jasmine)
- 1.24kg beans (trueleaf organic soybeans)
- 545g salt (hakata no shio)
- 650mL cooking liquid
- 50g seed miso (miso master classic red)
- 4375mL final mix volume
- eta feb 15 2022
Kojibuta | 麹蓋
I came across a fellow by the name of Sebastian Butt who is one of the few people on my side of the Pacific building traditional fermentation equipment. We emailed briefly and some time later my kojibuta arrived. They’re beautiful and I couldn’t be more pleased. No affiliation with Sebastian other than being a happy paying customer, you can find his work and contact information here.

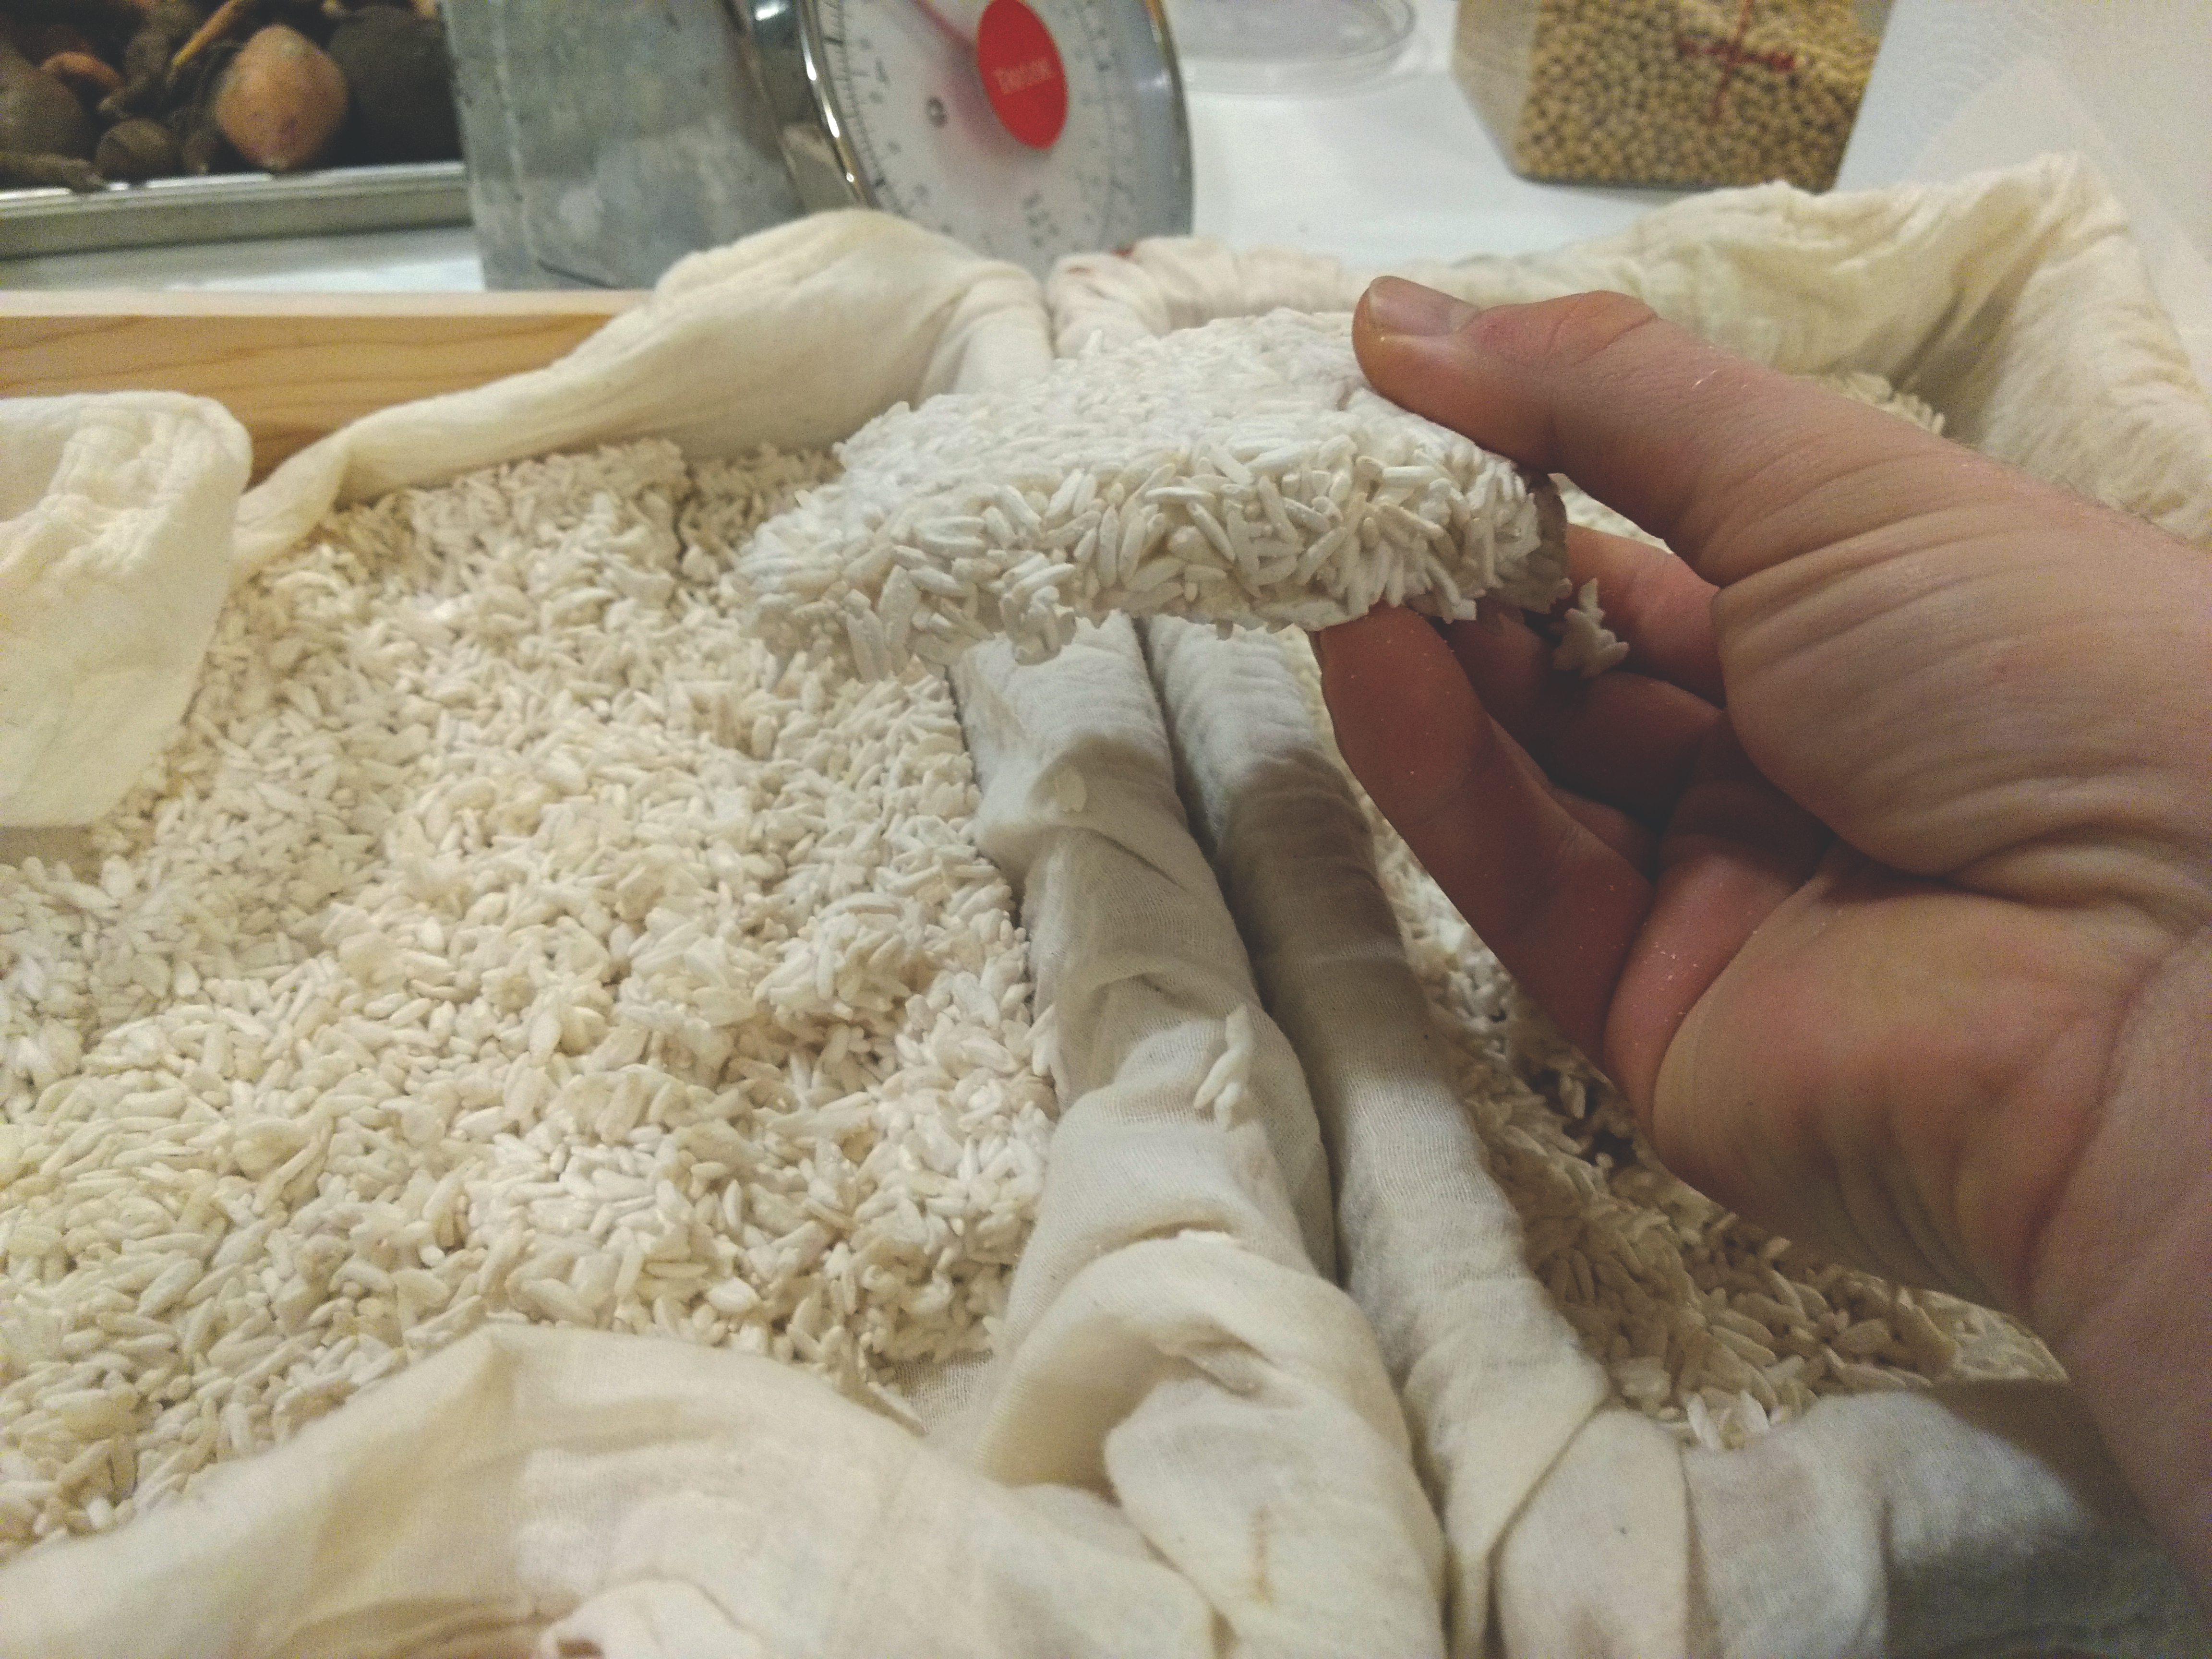
Koji Grow
I’m still learning about the finer points of koji o my choices right now are on the advice of others. For this round I used GEM’s red starter. Having done a round of koji recently on short grain rice, I decided to try jasmine as recommended in Koji Alchemy. I used Whole Foods’ store brand organic jasmine rice because I don’t normally keep jasmine on hand and that’s what I could get delivered in a timely fashion.
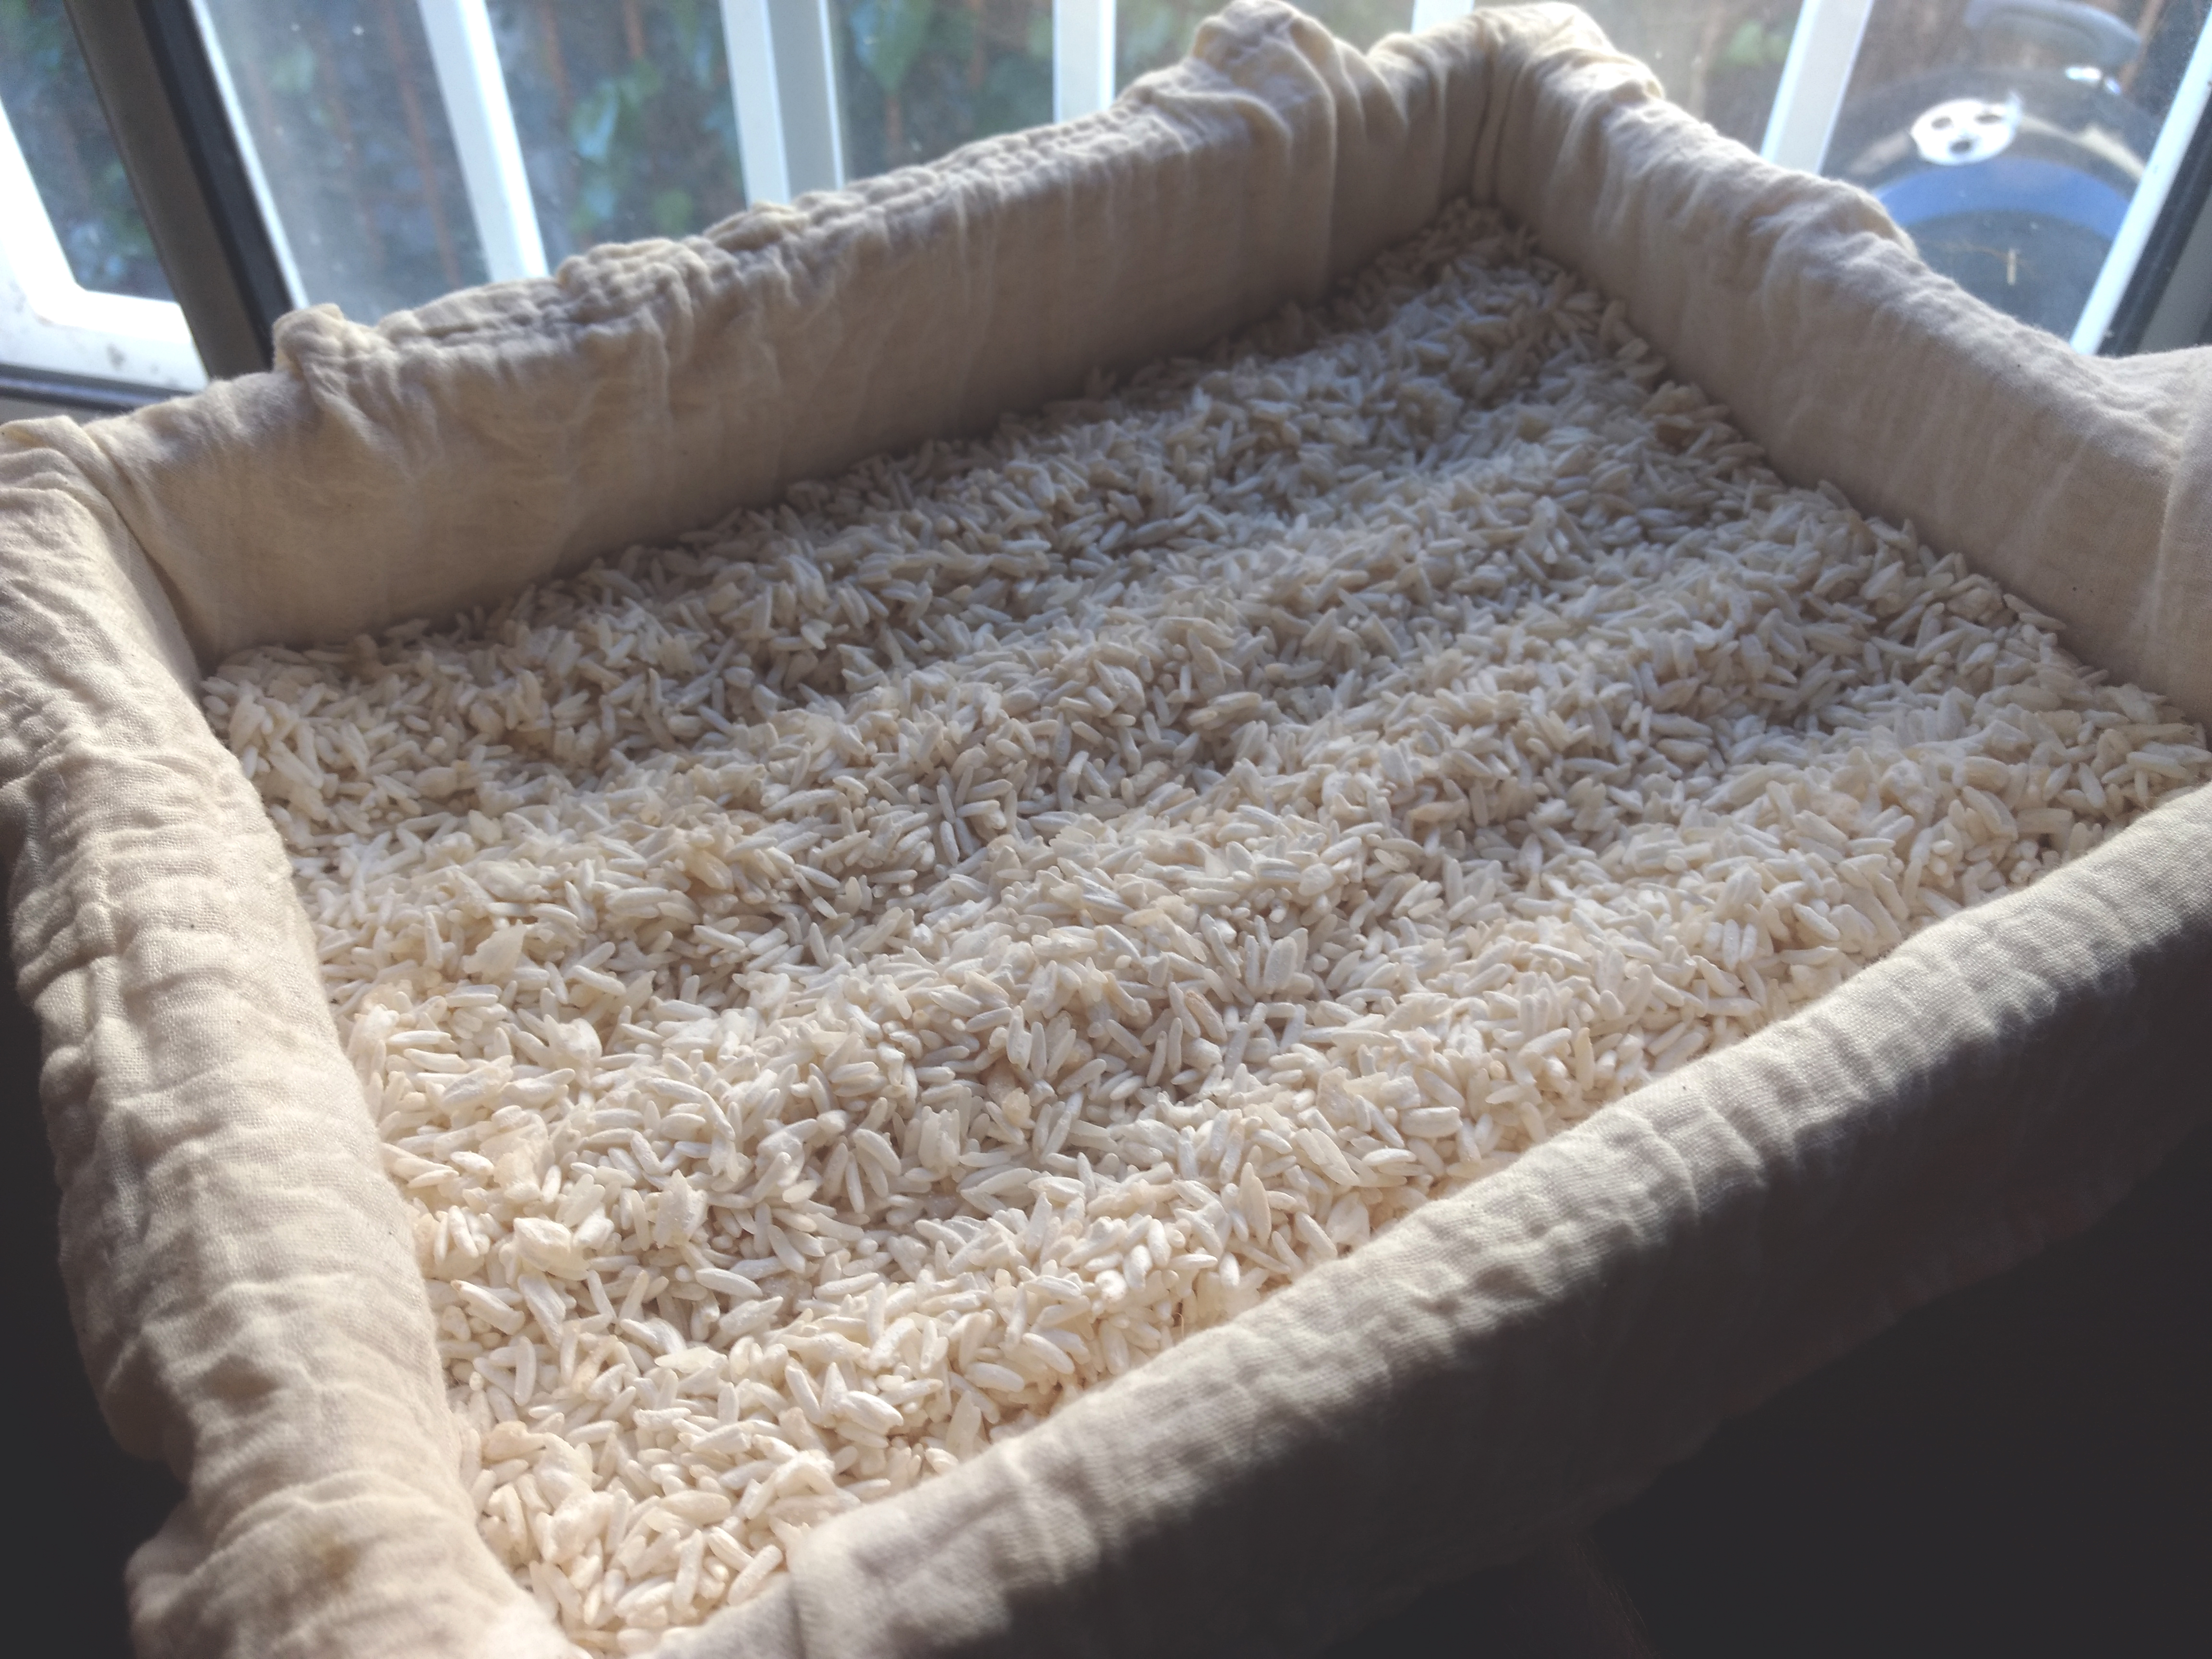
I washed, soaked at room temp for 8hrs, and then steamed the rice for 80 minutes. After cooling to 28C, I applied 7.5g of GEM’s premixed spores additionally diluted with heat sterilized (read: used my tiny Griswold skillet) white rice flour and mixed in the usual fashion. The inoculated mixture was placed on cotton cloth in my kojibuta, formed into a central mound, covered, and placed in my improvised incubator. After 12 hours, the mixture was mixed, spread, and furrowed before being placed back into incubation. Internal temperatures climbed enough to necessitate stirring at approximately hours 24, 32, and 36. I stopped heating the incubator approximately hour 40, and the koji was complete at hour 51 with significant grain penetration and mycelial matting. The internal temperature of the koji was between 30C and 32.5C throughout incubation, intentionally cooler than my prior amazake-destined batch. From 1kg dry rice, 1.2kg finished koji was created and put into refrigeration for use the next morning.
Miso Assembly
All working tools were cleaned by hand with 60C soapy water, rinsed, and then bathed in boiling water.
Following The Book of Miso’s formula from figure 31 as outlined in my prior formula discussion I worked backwards to get a dry soybean mesaure of 1240 grams to make use of all the fresh koji. The beans were soaked in room temperature filtered water for 3 hours before being drained, placed in my electric pressure cooker, and covered with an excess of fresh filtered water. The beans were cooked at ‘high’ pressure for 28 minutes, allowed to naturally lose pressure for 40 minutes, then manually vented to reach atmospheric pressure. The cooked beans were drained in a colander over a bowl and 2 liters of cooking liquid were captured.
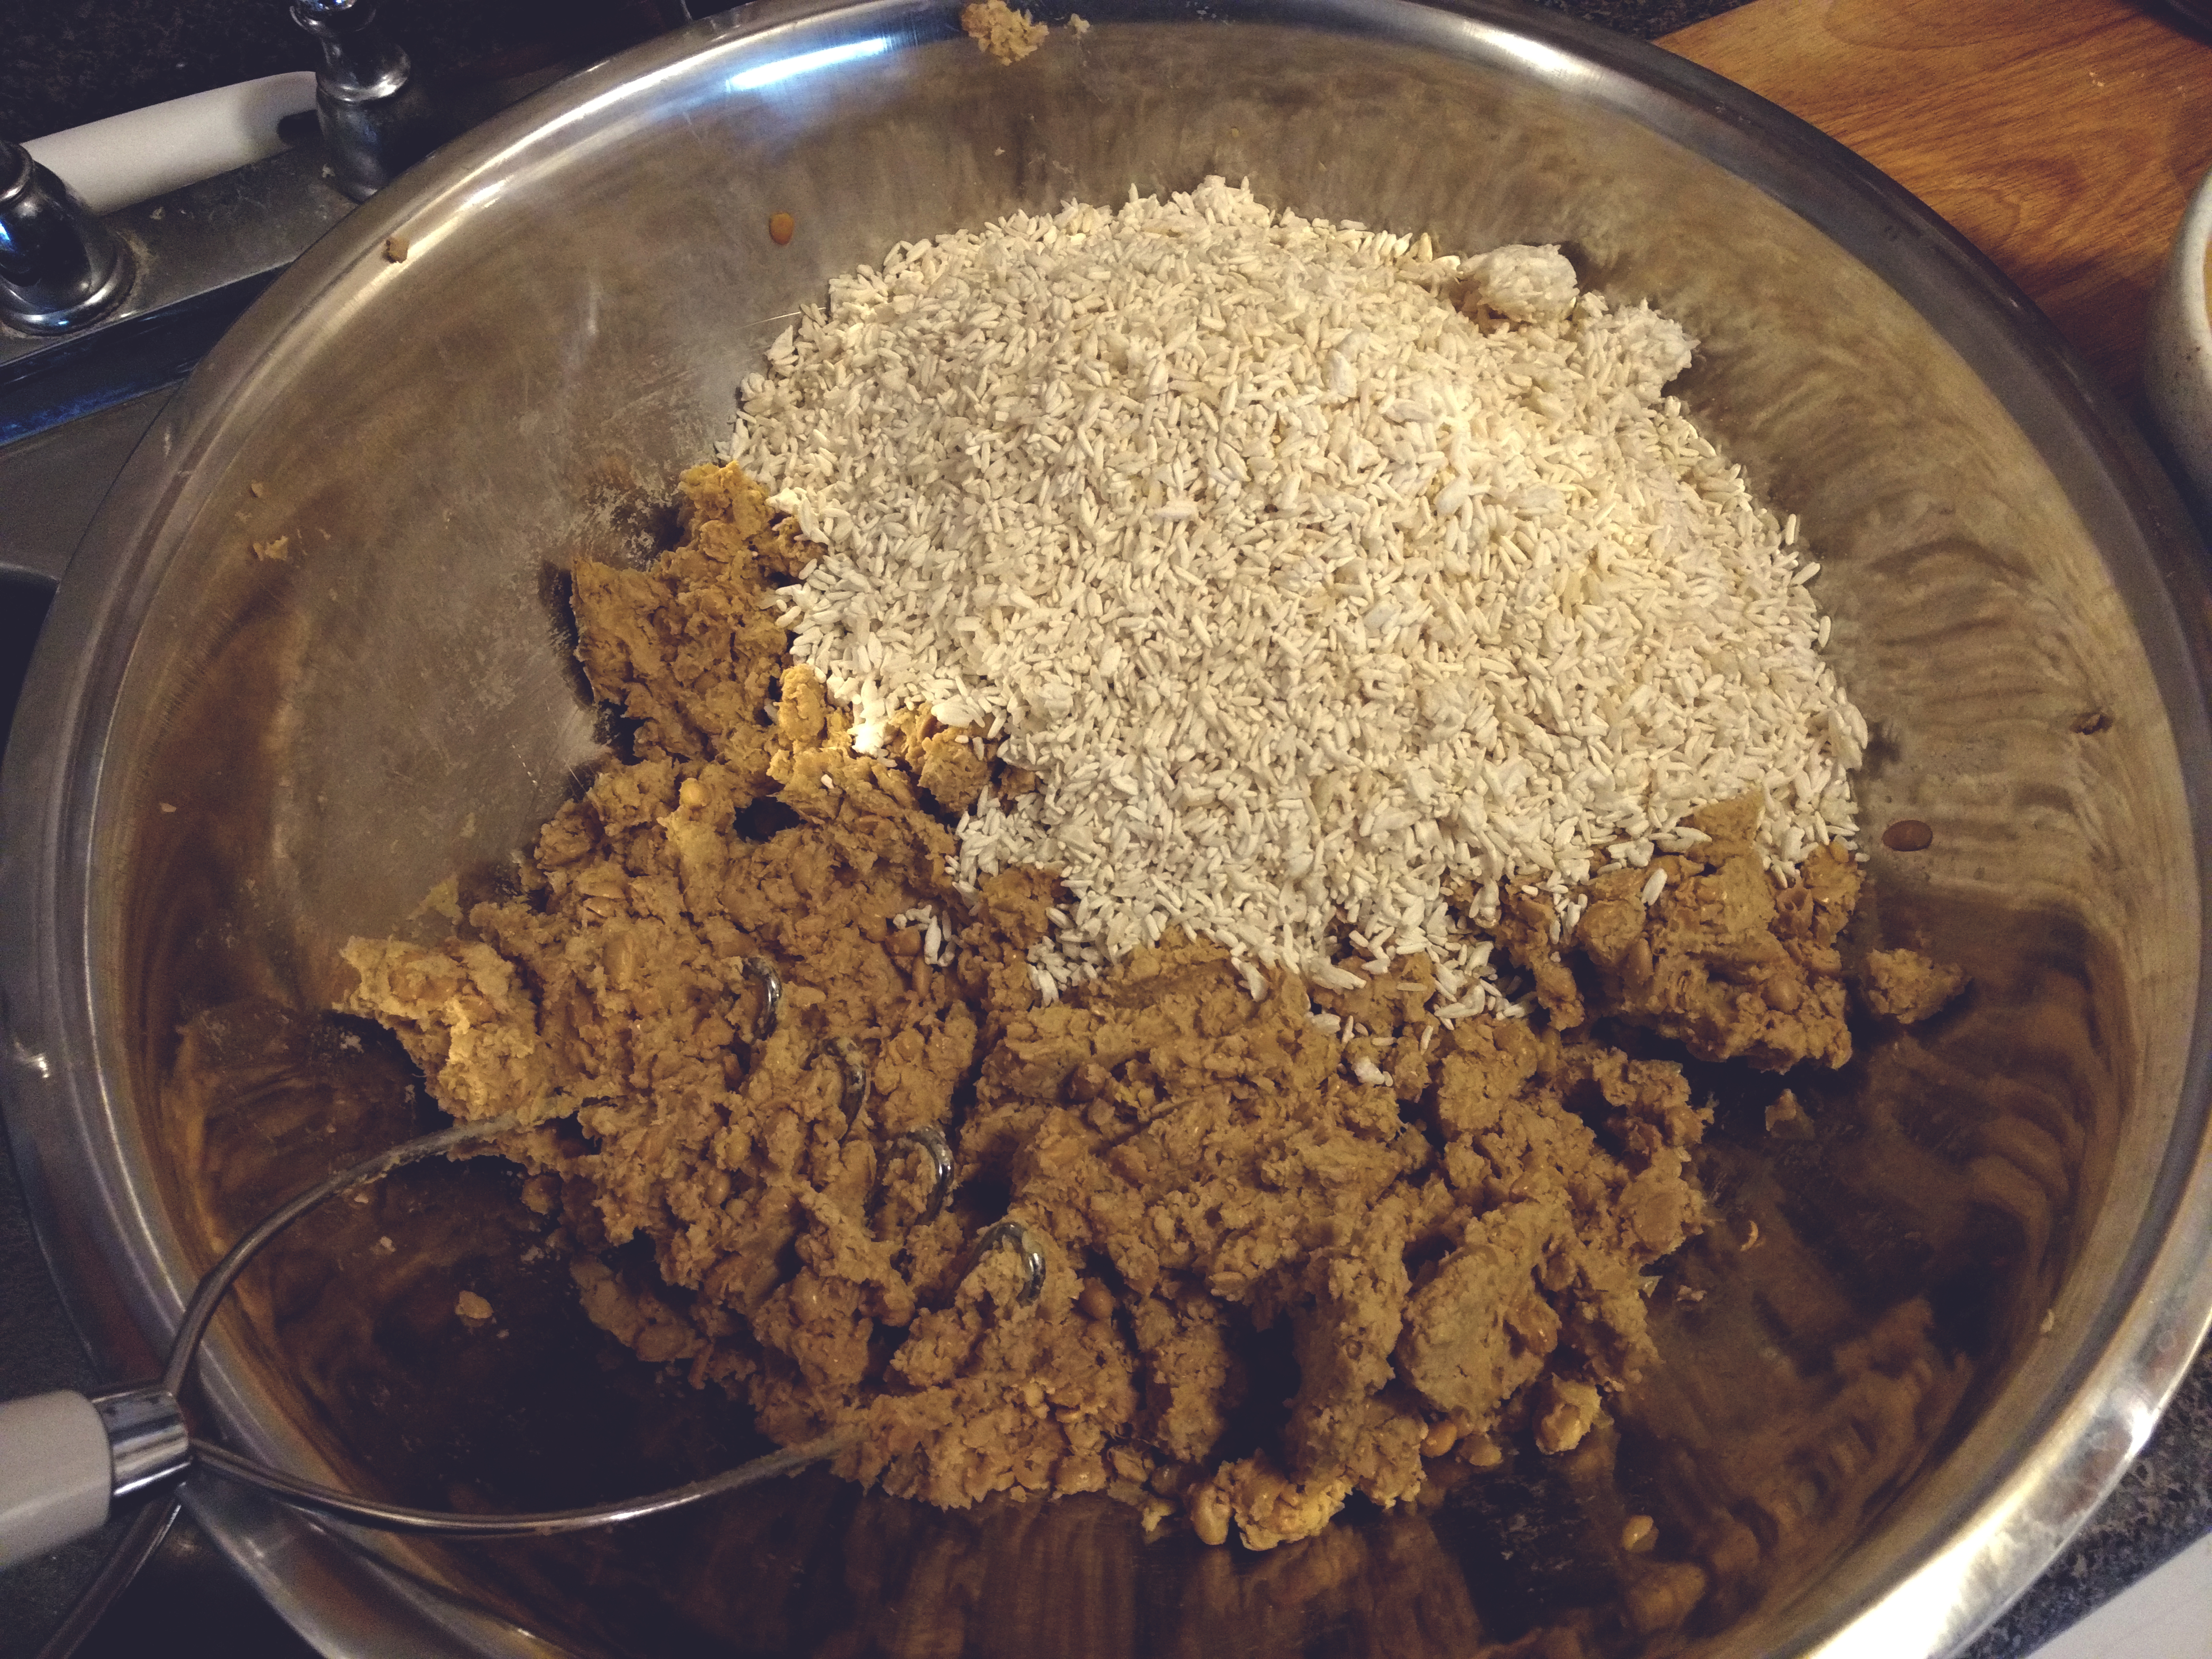
After draining the beans I placed them in my largest bowl to facilitate cooling and provide a venue for the final mix.
I measured 550mL of cooling liquid, to which I added 545g Hakata sea salt to begin dissolving. Once the salted cooking water was cooled to 40C I mixed in 50g unpasteurized miso.

I started mashing beans with my suribachi but quickly moved to using a potato masher directly in the big main bowl. Sitting cross-legged on my tile kitchen floor pounding a giant bowl of beans with a potato masher was both cathartic and effective, yielding a smooth yet heterogenous paste that was in line with my ideas about “rustic” and “traditional farmhouse style”. All 1200g of koji was added to the main bowl and combined with vigor, followed by the salted and miso’d cooking water to create the near-final product. With clean hands I took up a snowball sized amount to gauge its moisture content and general vibe, and after incorporating an additional 100mL of cooking liquid it was judged to be perfect and beautiful.
Packing The Crock
The crock was cleaned by hand with 40C soapy water, rinsed thoroughly with plain 40C water, then filled with boiling water and left alone for approximately 30 minutes before draining, cooling with 21C water. After drying the crock its insides were rubbed with salt and the bottom given a sprinkling of a few grams. As is traditionally done I packed the crock by picking up handfuls of miso, forming them into rough ball shapes and casting them forcefully into the crock like a newly recruited baseball pitcher trying to prove his worth. Some writers have been so bold as to say this is unnecessary or contrived but I am happy to report that this technique was super effective and created dramatic impact ripples.

After packing all of the miso into the crock and leveling its top, I measured in several points and found an average of 100mm from the top edge of the crock to the surface of the miso. Filling a second identical crock with water to the same level allowed me to estimate the total final miso volume as 4.375 liters which was far out of line with my prior projections based on written material, at 283.4g beans per liter of final miso. I am uncertain whether this is due to something in my technique and ingredients, but it I will continue to update my calculations as more data is produced over time.
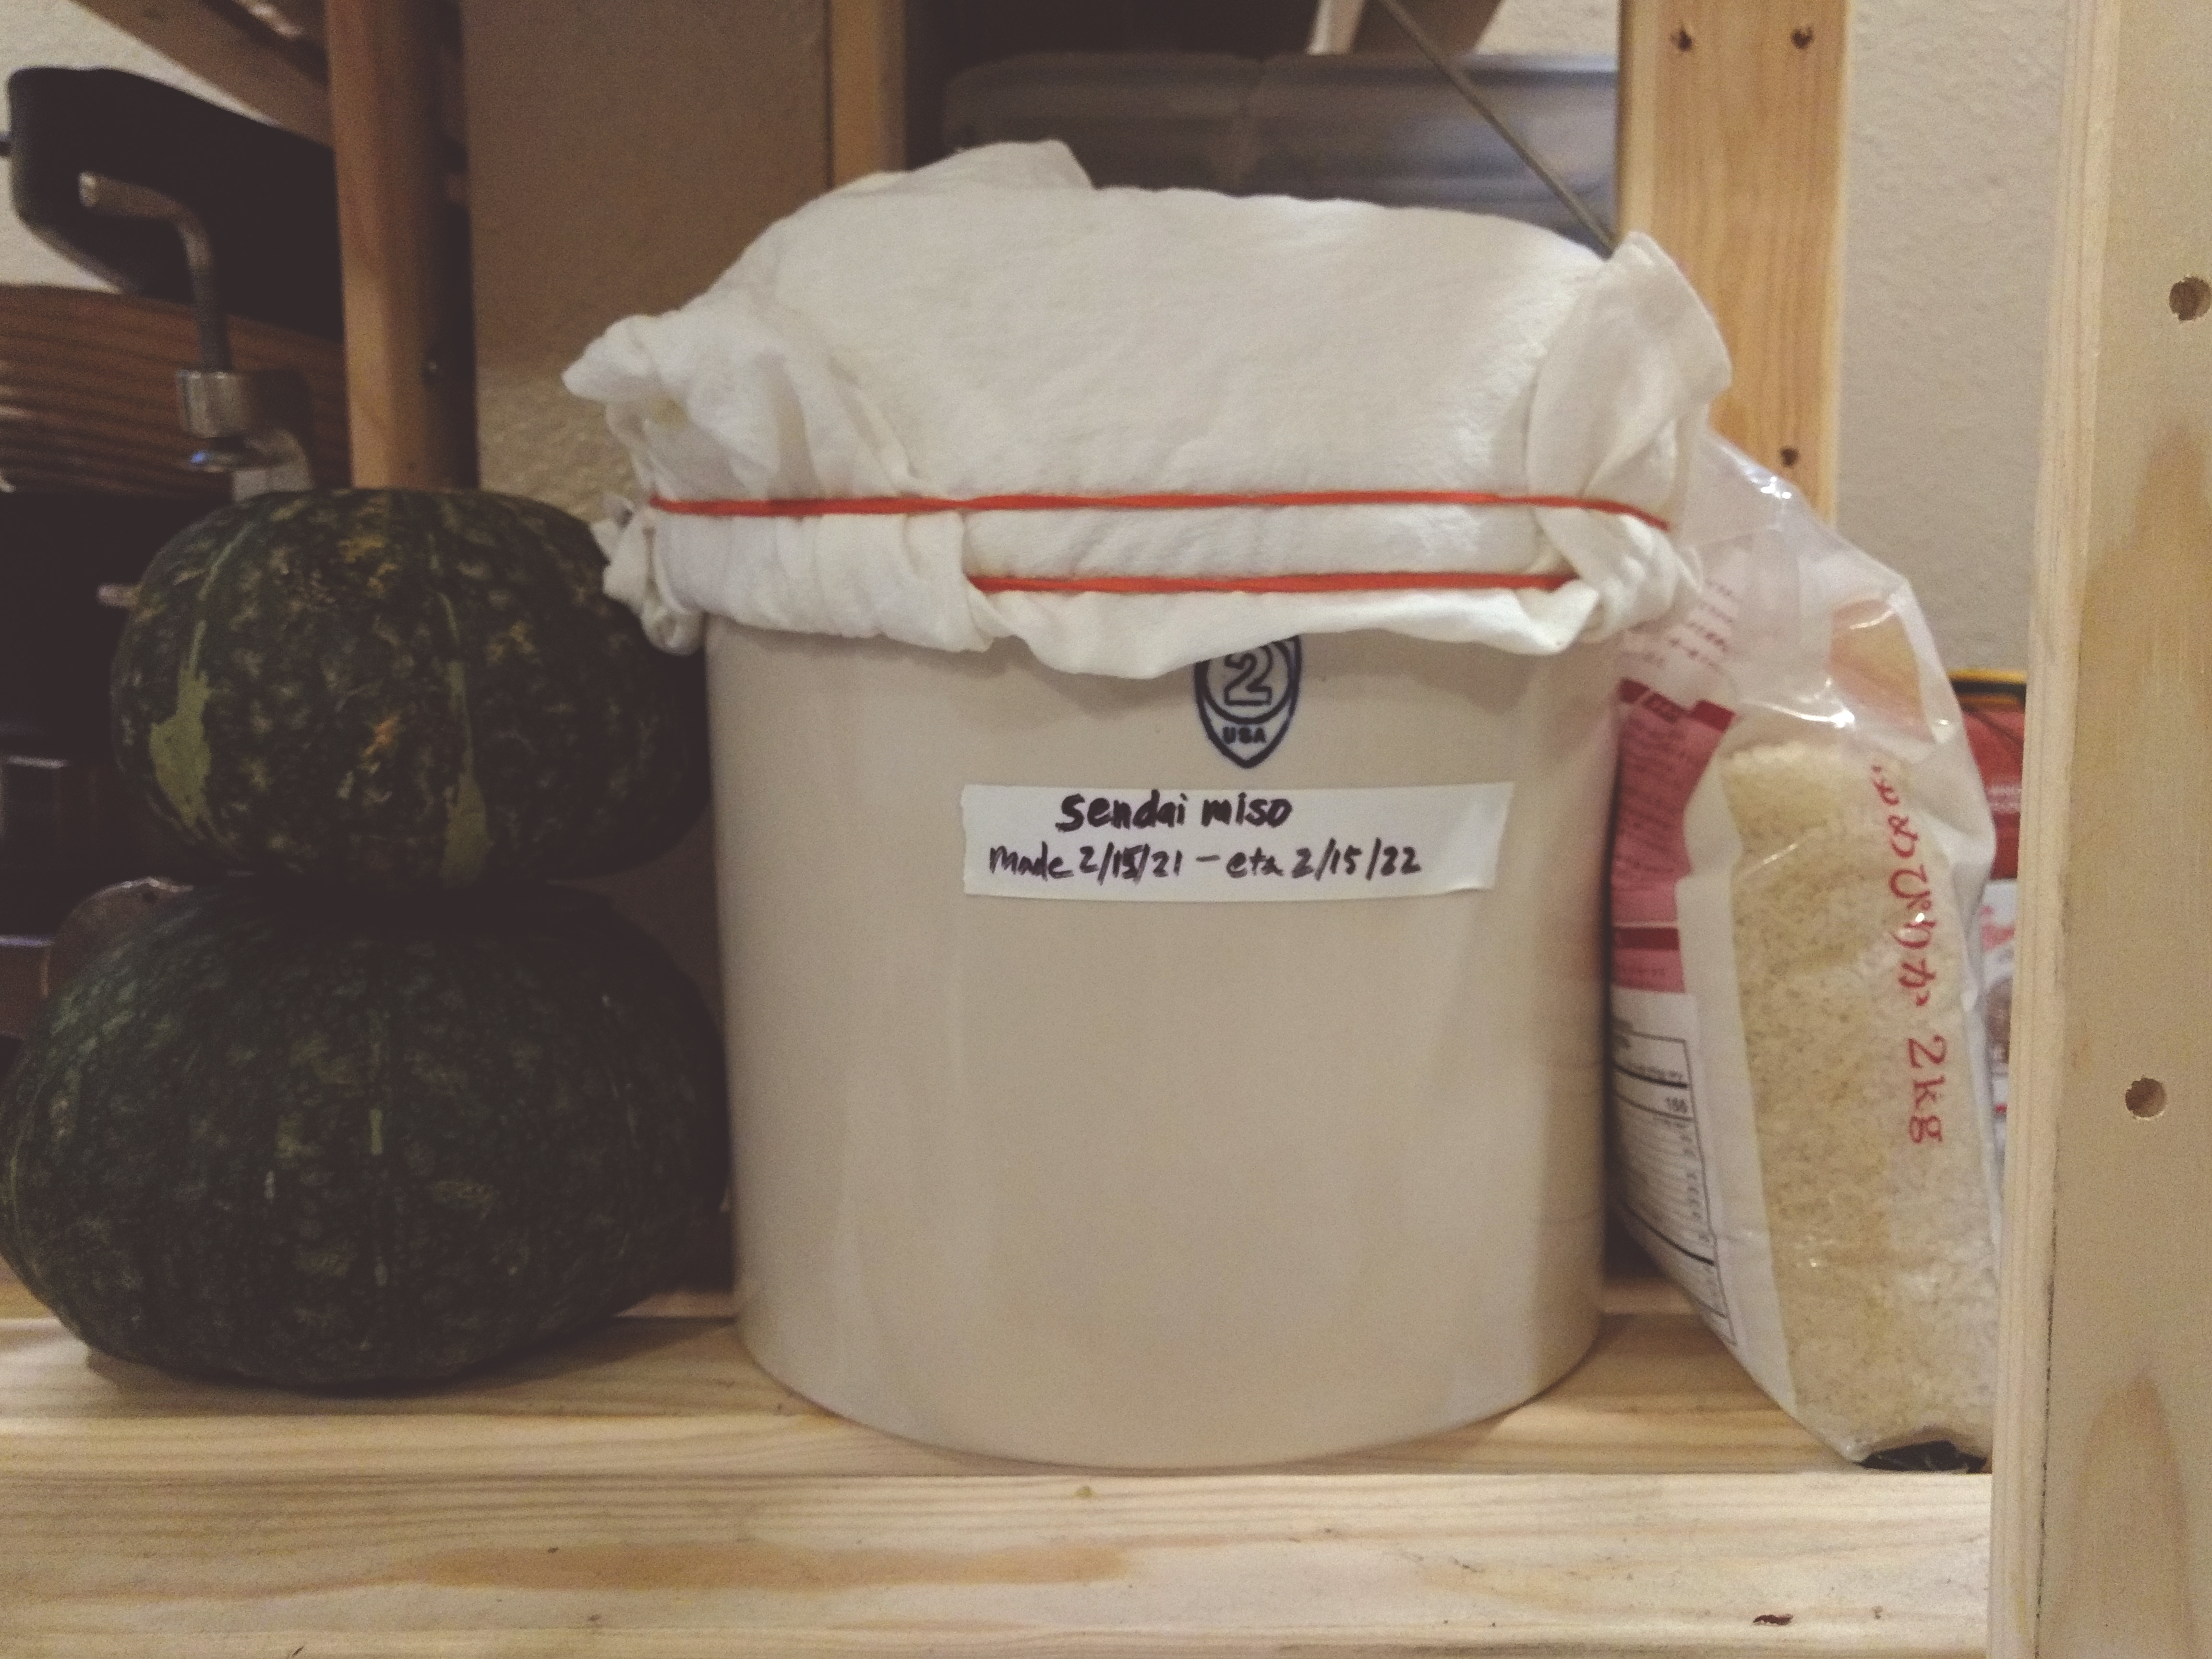
With the crock packed, I salted the top surface and covered it with a cut circle of parchment paper. A lid formed by vacuum bagging 2kg of pickling salt was lowered on top, and an additional 1.6kg of pickling salt in a cambro camsquare container was placed on top of that for a total pressing mass of 3.6kg. A flour sack towel was rubber banded over and the crock was placed on a shelf with notes about the countents and a projected earliest consumable date of February 2022.
I will repeat this process again over the next couple days in order to fill the crock to about 80% capacity - about another 1.7L - but that’s all for this log.
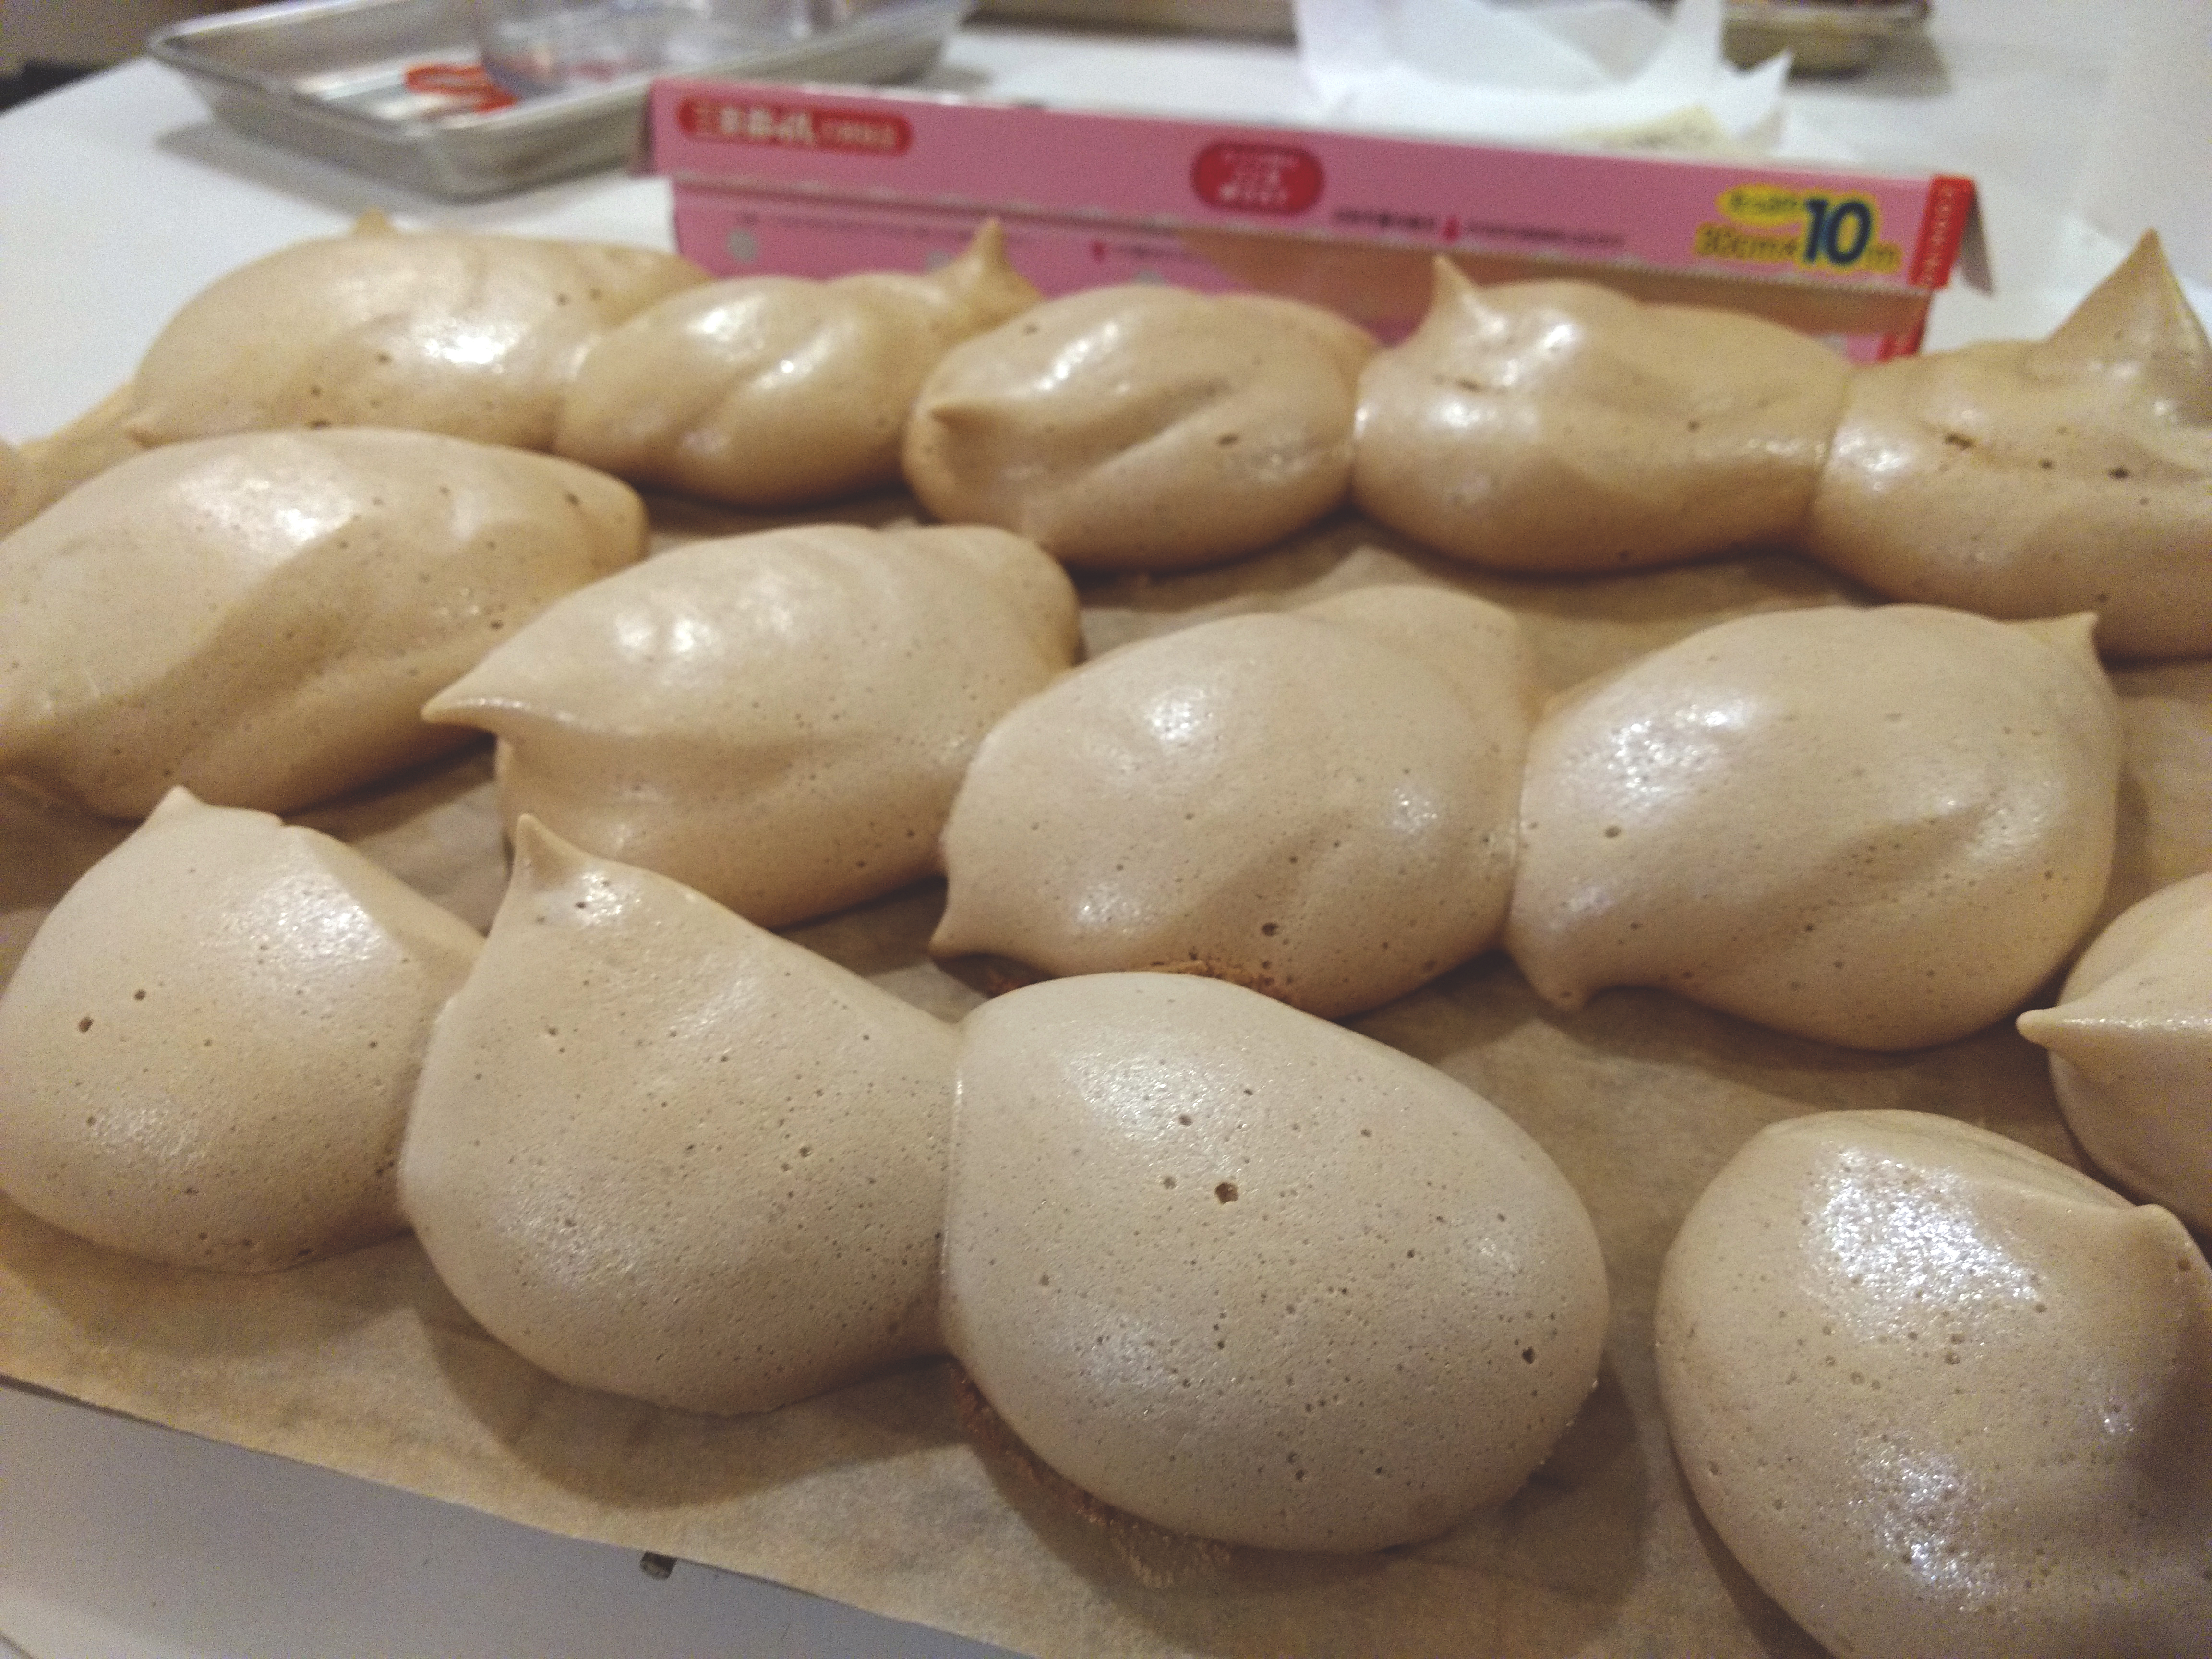
Bonus Meringue
I used the leftover cooking liquid to create vegan meringues:
175mL bean cooking liquid whipped to stiff peaks in stand mixer. Added 180g sugar slowly while continuing to whip, then 10mL 100 proof rye whiskey and a pinch of fine sea salt. Piped out onto parchment lined baking sheets and then baked at 120C/250F for just over an hour until firm and then cooled on a wire rack. The resulting meringues had a roasty toasty flavor although I burned a couple on the bottom in order to see how long would be too long (the answer is 1 hour 15 minutes).